Overview
| module url | N/A | ||||||||||||||||||||
| git repository | https://bitbucket.org/arrizza-public/3d-print-bracket-legs | ||||||||||||||||||||
| git command | git clone git@bitbucket.org:arrizza-public/3d-print-bracket-legs.git | ||||||||||||||||||||
| verification report | https://arrizza.com/web-ver/3d-print-bracket-legs-report.html | ||||||||||||||||||||
| version info |
|
- repo status: Repo Information
- installation: Common Setup
Summary
This project creates "legs" using openscad for mounting PCBs using the PCB brackets.
To run
See doc/how-to-print.md for a full set of instructions.
For multiple legs e.g. 4 of them use the Bambu Studio clone features as described. Click "+" 3 times to get a total of 4 brackets on the plate.
To use the legs
Note: this is for 6-32 bolts. I also tried M3 and they seem to fit pretty good as well. The holes are small enough that the bolts can be self-tapping. So using other size bolts may cause issues.
calculate the number of legs you need to stack
To calculate the number of stacked components do this:
- Take the length of the bolt e.g. 1"
- divide by 1/4" => 4
- this will have the bolt stick out from bottom of the feet long so that bolt extends out and a nut can be used to hold into a bottom plate/board.
- if you want to have the PCB rest on the "feet", then you want the bolt to not extend out out and to be inside the bottom foot. If so, subtract 1 from the stack. e.g. num_stacks => 4 - 1 = 3
Note: In the the bracket_legs_v2.scad, I used:
- 1/2" bolts with the bolt staying inside the feet
- so 1/2" / 1/4 = 2
num_stacks = 2; // works for 6-32 x 1/2" bolt inside
to use a leg
- for each leg, screw the bolt into the leg separate from the bracket. This helps get the self-tapping to work correctly without putting extra unnecessary force on the bracket or the leg.
- unscrew the bolt
- put the bolt through the hole in the bracket
- screw the bolt back into the leg.
- repeat for all 4 corners of the PCB
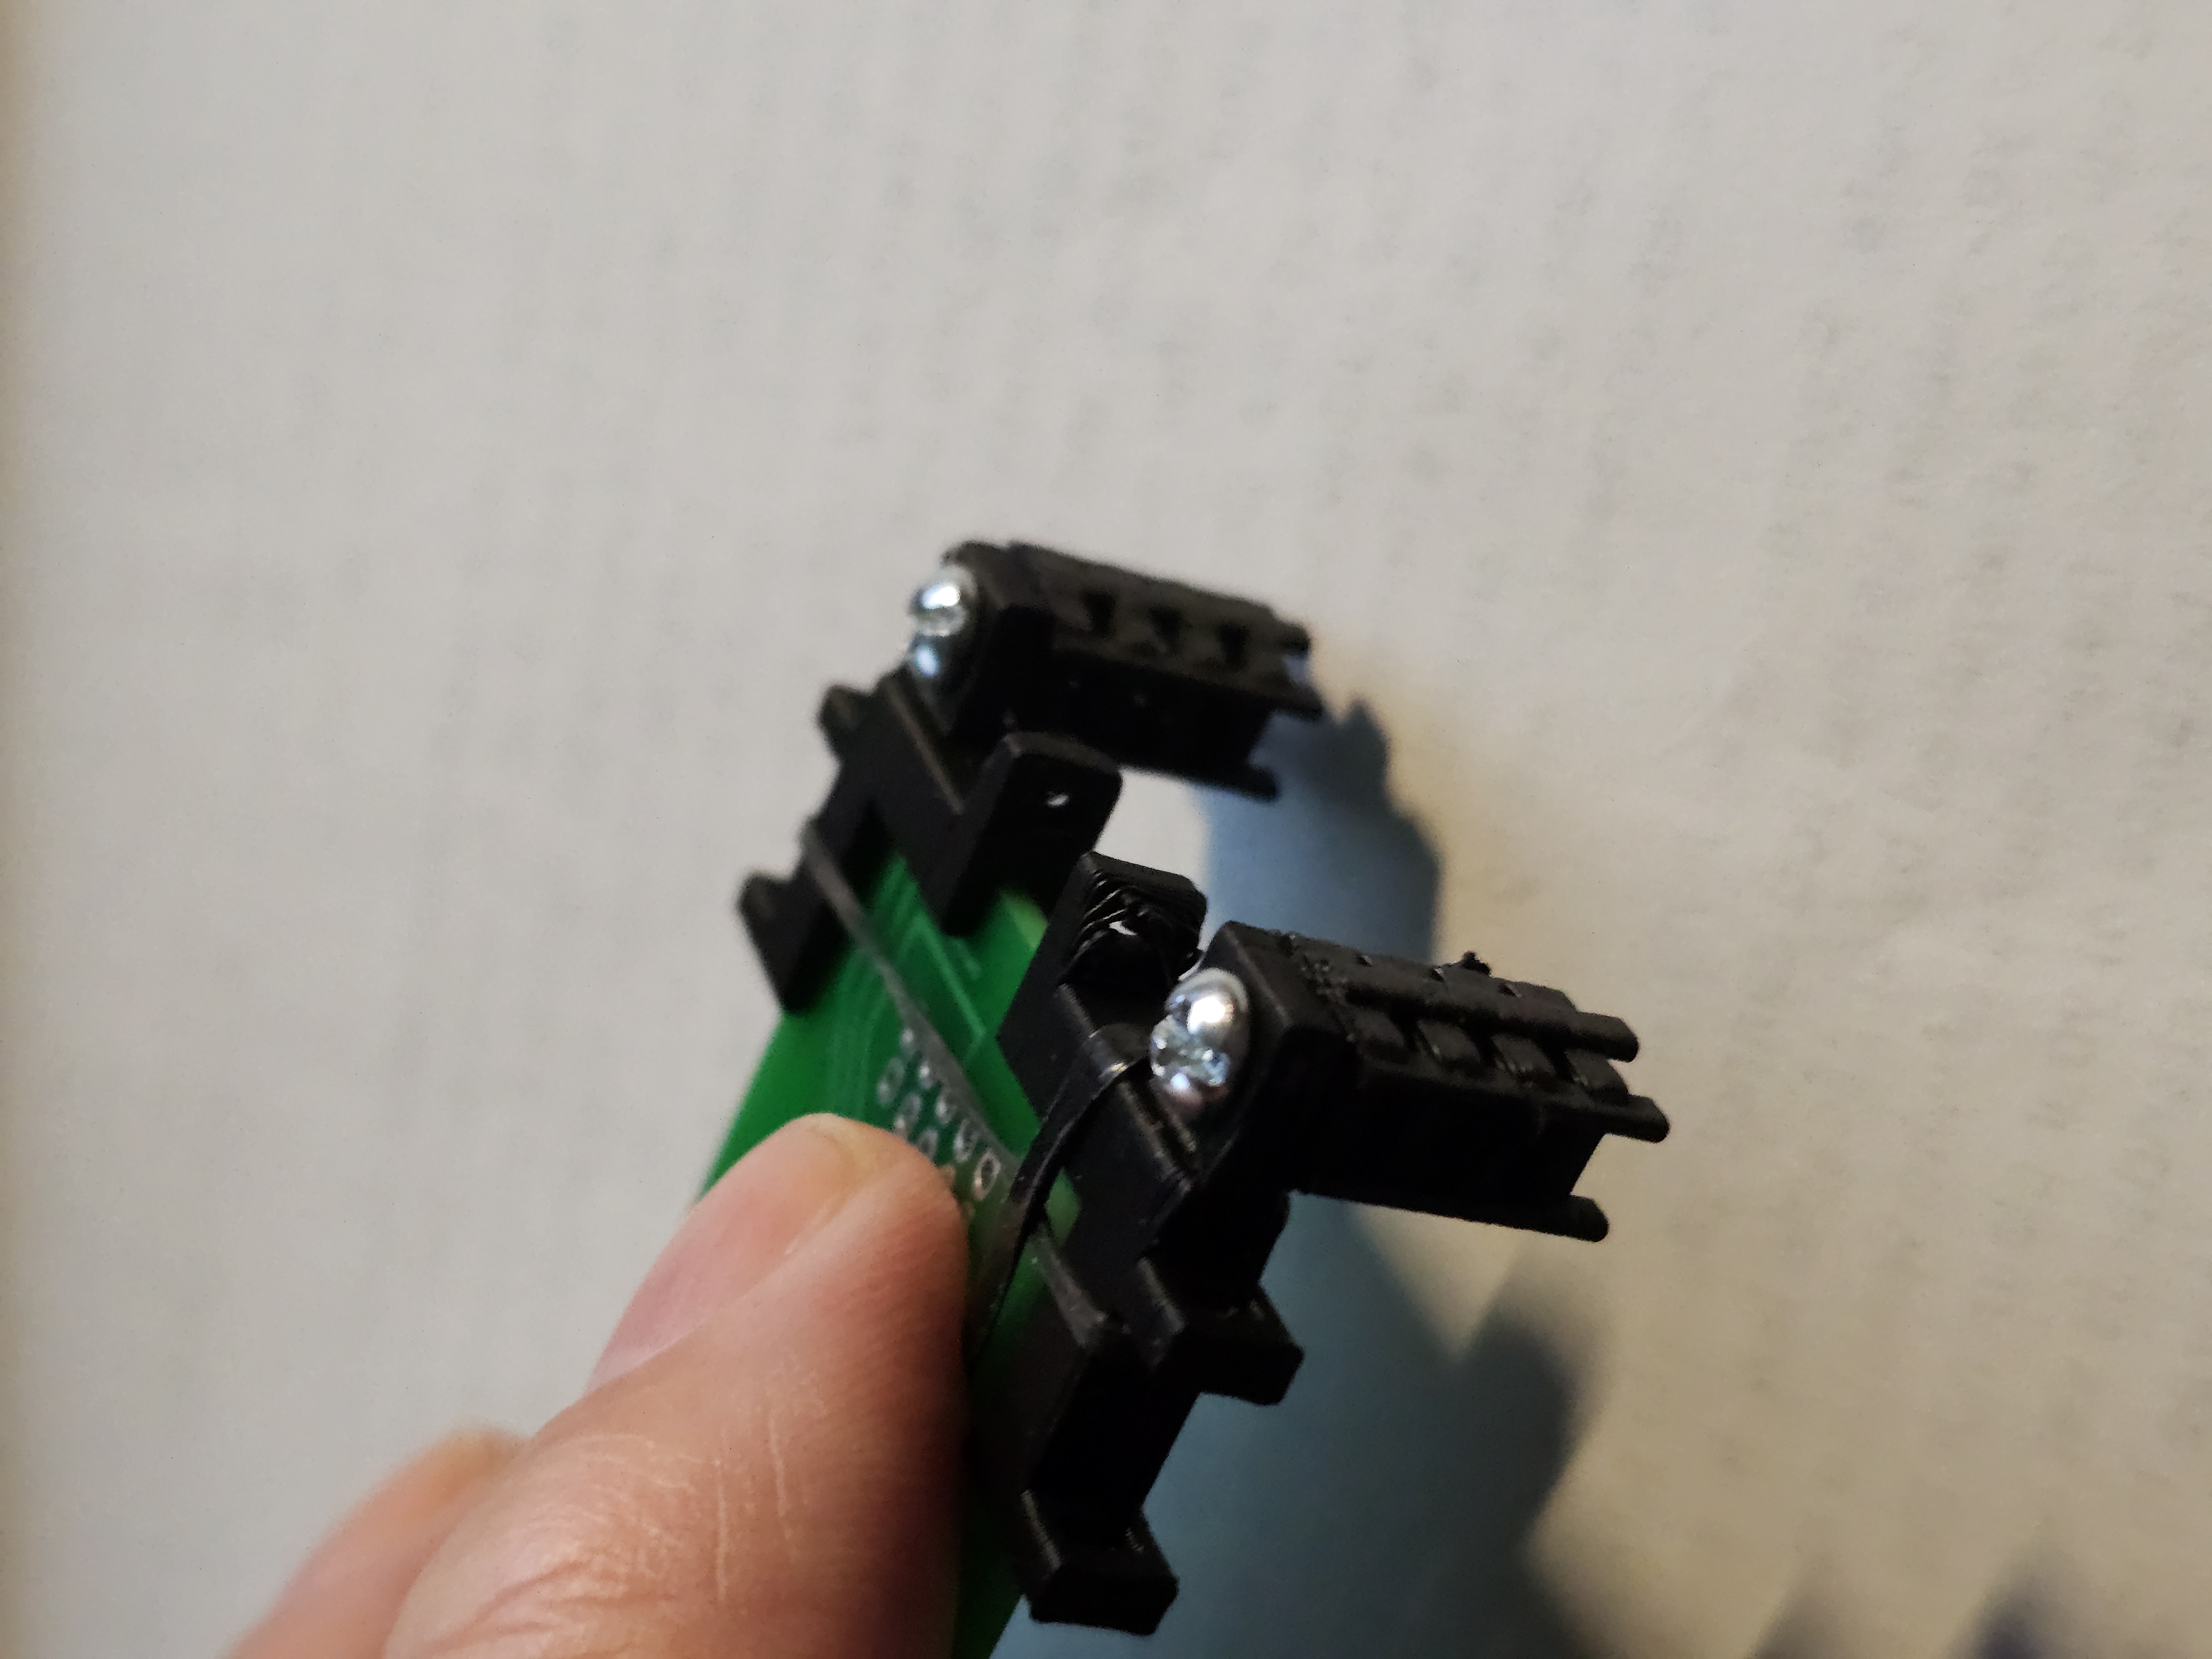
This shows 1/2" legs for the 6/32/ x 1/2" bolt:
Next steps
- create versions for M3 (metric) and other common bolt sizes
How to 3D print
Note: this assumes you are using a BambuLab 3d printer. I have a BambuLab A1 Mini.
install openscad, etc
See doc/test_process.md to do the initial install:
# install openscad
# install Bambu Studio
./do_subm_update
./do_install full
run openscad
- run openscad
- load the .scad file
- click "File"
- click "Open File"
- navigate to the directory
- click Open
- render it by doing one of these (the image will go all yellow):
- click Design | Render
- press F6
- or, click icon with cube and corner arrows
- export it by doing one of these:
- click File | Export | Export as STL
- press F7
- or, click icon with page and "STL" on it
- navigate to this directory and save the .stl file into
./outdirectory
run Bambu Studio
In your 3d printer
- import the .stl file from
./out - slice it
- print it
- see README.md and check if it works as it is intended
If it works for you, and you're using a BambuLab A1 Mini, do these steps to create multiple copies of the model:
- open Bambu Studio
- import the stl file into your 3D printer
- ensure you are in the "Prepare" tab
- right-click on the model
- select "clone"
- click "+" as needed to get a total number of copies you need
- select them: press ctrl and then click on each of the copies
- right-click on the plate (not the model)
- select "arrange"; Bambu Studio will move and orient the copies for efficient printing
- click "Slice plate"
- click "Print plate"
- get a "Send print job" dlgbox
- click "Send"